Day 60

So, I bet you thought you were going to get a nice human sculpt render for today’s show off piece, didn’t you? Well, it turns out that I am straight out of time for that, so instead you get a nice out-of-time clock!

Honestly, I’m not complaining. The sculpt is coming along, but it still has a ways to go before it will be display ready, and I just couldn’t pass up the idea of the clock signifying the end of the 30/30 challenge. Successful end, if I do say so myself, and I do. As with all of these challenges, I’m far from being a master, but I think I’ve managed to make some really cool stuff, and I’ve learned some good techniques, so I’m way better off than when I started.

In other news, I made a game! 

You can also reach it at https://thetalorian.itch.io/flight-of-light. The concept is simple, the gameplay is simple, but it’s actually pretty fun, and I’d say not bad for having been made by a novice solo developer with only self-made assets over the course of six days, and in my spare time while still concentrating on learning sculpting.

So, game jam done, and 3d 30/30 done. What’s next? The plan is to move on to the next 30/30, of course. This time: Music! Time to move away from the visual arts for a bit and get into some emotional expression. After I take a day off. It’s been sixty straight days so far, I think I’ve earned it, and it will put the new 30/30 running exactly through the month of September, so that should be nice.

Day 59

The game jam game, now working under its final title of “Flight of Light” is nearing completion in starts and sputters. It’s pretty close to a final product, and actually a fairly decent and playable game at this point, albeit an exceptionally simplistic one. And while things are progressing well, it also seems like every new fix or addition brings on additional setbacks and road blocks.

For example, when I tried to do a test build yesterday I realized that the size the game was showing me on my monitor from the engine editor was not actually the size that it would be played in when it got to the browser. I’m not entirely sure what’s up with that. But it meant actually buckling down and changing everything up to work at different resolutions, a step that I had skipped for time, knowing that I was planning to only use the one view.

And that led to the possibility that the actual image ratio of the game window could potentially change as well, so I decided to put in some indication of the sidewalls, blocking in the character to the actual game field rather than just having the window do it. And of course that led to several camera changes, a perspective shift, resizing, realigning, etc. Basically changes all over the place.

This evening I buckled down and tried to improve the sound track. The game’s music is semi-randomly generated from essential building blocks following some basic level music theory, but the initial set of blocks I’ve been working with were fairly disjointed and honestly kind of a rush job, meant to test the concept more than anything. Overall it mostly worked, but I thought I could improve on the formula.

The new building blocks are in nearly every way superior. For one, they are actually polyphonic, so each block has multiple instruments playing, and they are more cohesive and following a tighter pattern. In the audio workstation it actually sounds pretty nice. I even added a drum line to it.

The problem is that now that the soundtrack is a bit less chaotic, it’s much more apparent that it isn’t playing back consistently in the game itself. Like it’s development, the soundtrack has stops and sputters, moments where it can’t quite load it in time to play the next segment. With the higher consistency in the melody lines and the percussion added in each delay becomes super obvious, so now if I want to use my enhanced soundtrack, I’ll have to figure out a way to smooth out the audio playback.

It’s ok, I’ve still got a day left to get it right.

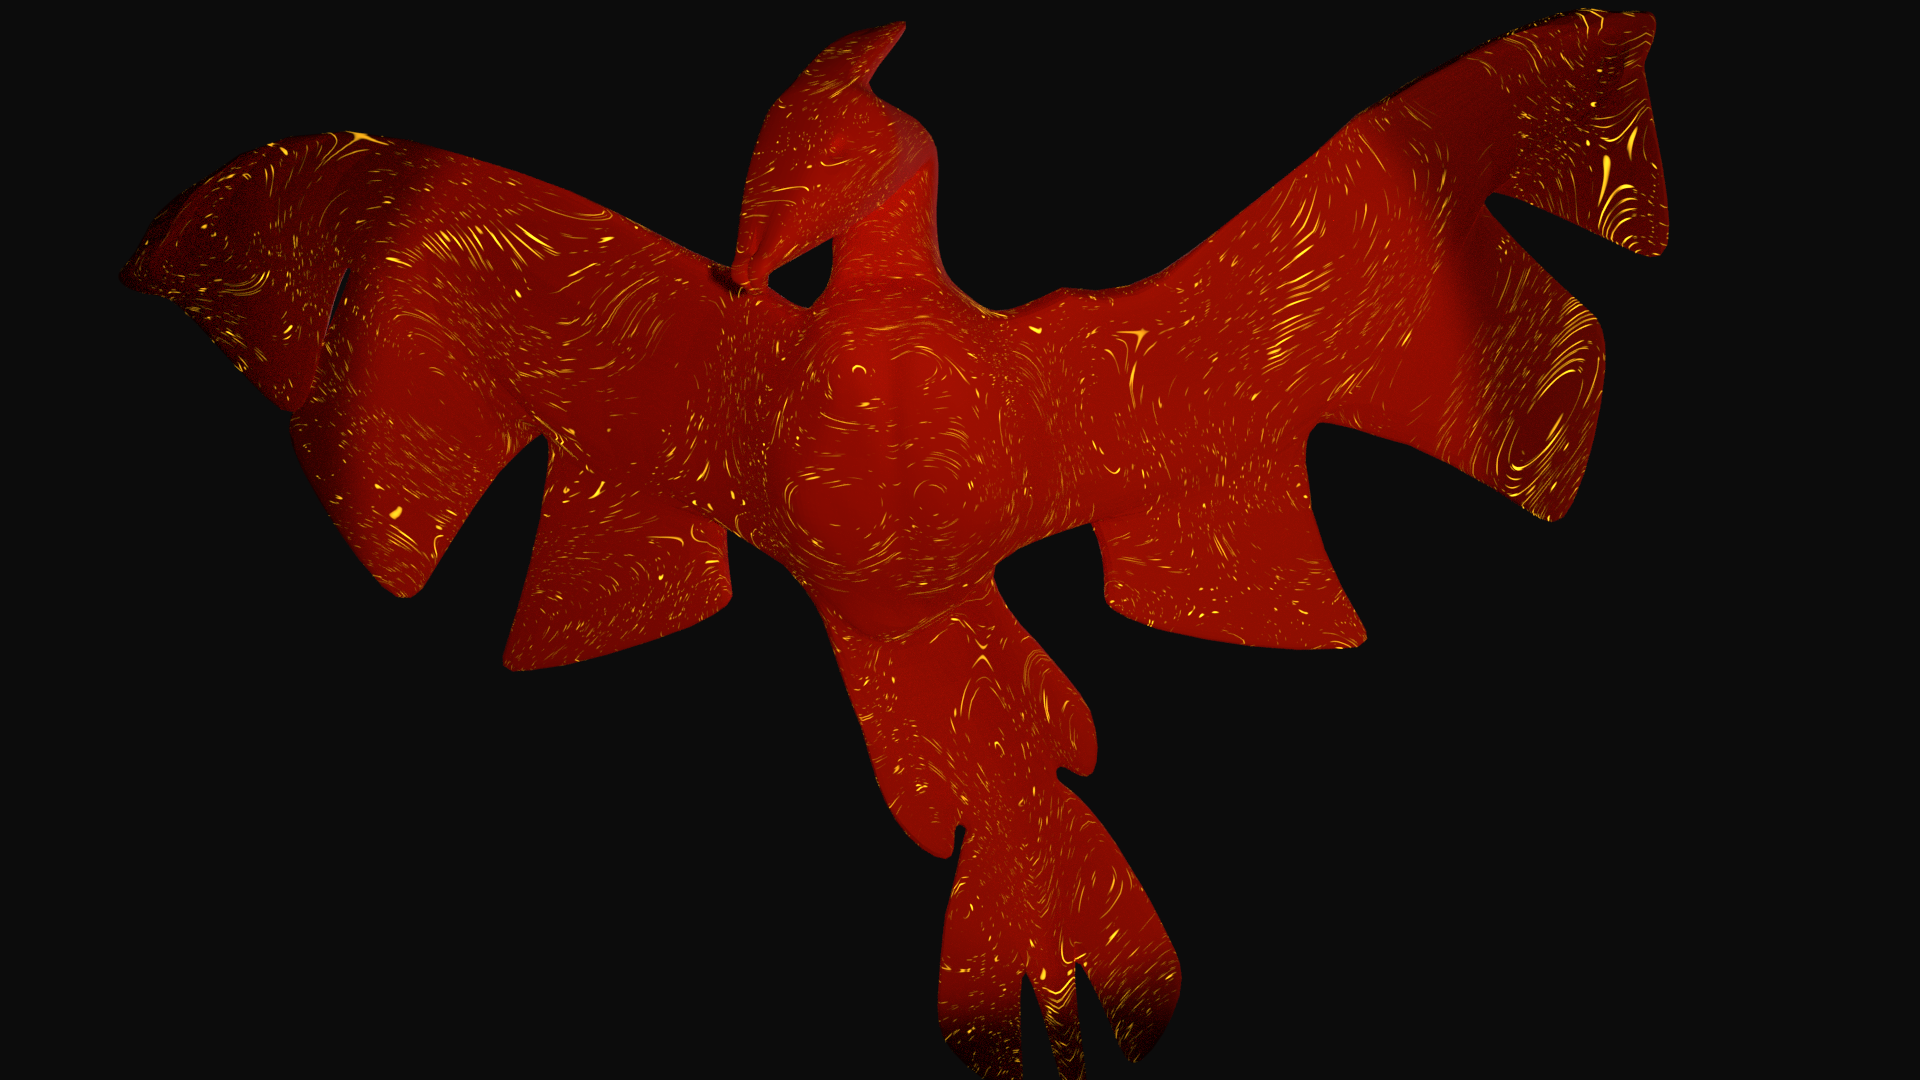
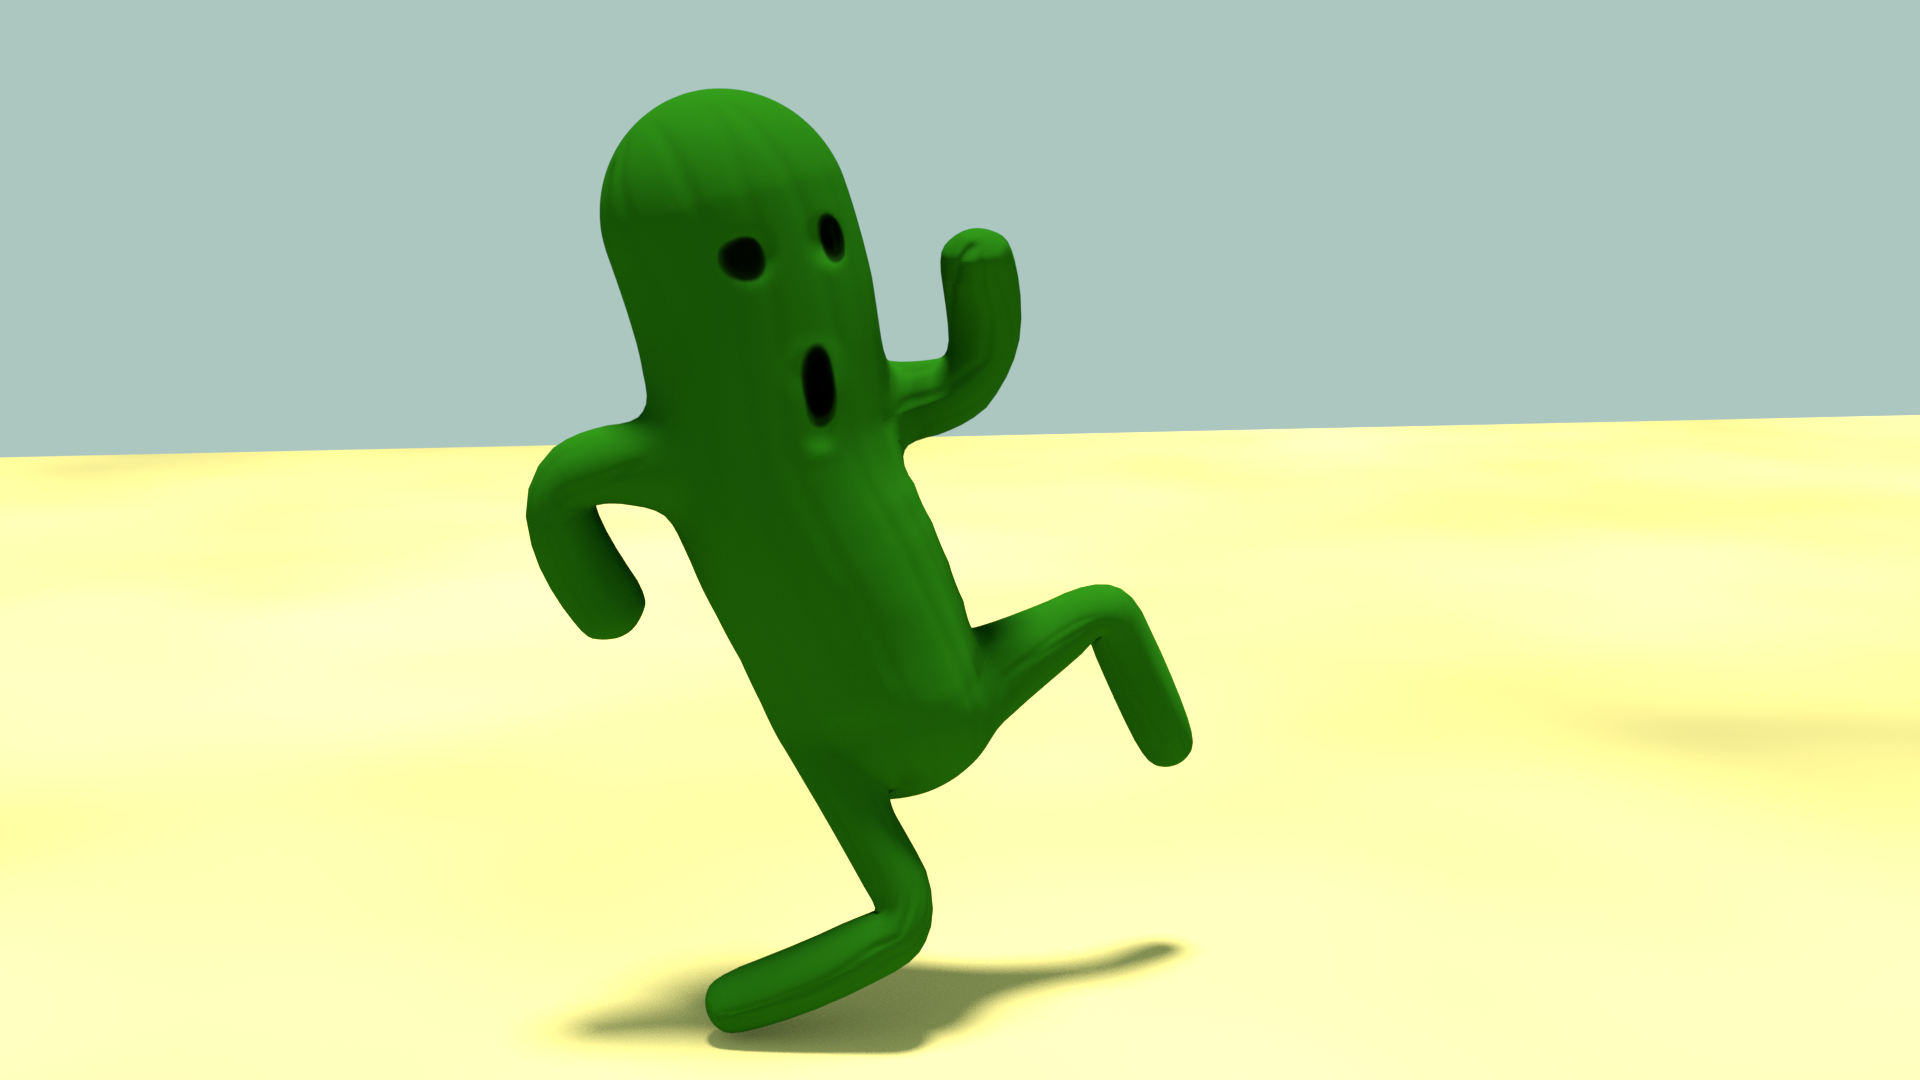
As for the 3d challenge, I once again have nothing to show off. I feel like the new sculpt is actually coming along pretty nicely, but I’m beginning to think that it was probably a mistake to attempt right before the end of the challenge, as I doubt I will be able to complete it to my satisfaction before the challenge is over, and in the meantime I continue to have text only updates. It’s going to make the big “finale” vlog video pretty barren as well. Ah well, live and learn I suppose. And learning is the entire point. Maybe I’ll have something finished up enough to show off, we’ll have to see.

Day 58

Just a very quick (and very late!) update for day 58. I’m putting a lot of focus on sculpt practice here toward the end of the challenge, at least with the time I’m not spending working on the Game Jam.

As a result, today’s practice was another attempt at a full human figure, one of the harder subjects, at least with my still currently shaky understanding of anatomy. But I’m practicing new techniques. I decided to try out building a more solid base mesh for sculpting this time, while still using the pre-supplied rig for proportions. The general plan seemed sound, but I built it out using a variety of different shapes, planning to just merge them together with the boolean tools since I already knew I’d be adding dynamic topology, so I didn’t need to worry too much about the odd topology you usually get from those.

At first everything seemed to be going really well, I had a vaguely human shaped mesh, all ready for sculpting, and got to work. I had no problems at all getting the basic shapes down for the feet and legs, smoothed out the connections between the legs, hips, and torso, but then I got to the shoulders and everything fell apart fast. Apparently the boolean tools, in combination with my original shaping methods, had left a bunch of interior faces and unconnected vertices. Basically the entire thing was a whole huge mess that took forever to get cleaned up.

I feel like the method could work out with a bit of practice, and might end up being faster than some of the other things I’ve done. Someday. But not today. I did end up with a decent if super-low detail starting point for tomorrow. So that’s something.

Day 57

I’m fairly pleased with the progress so far on the gamejam entry. My little game, at least currently titled Phoenix Rise, though I’m debating other options, is actually pretty much a real game at this point. Still a bit buggy, and certainly light on the content, but it’s a game. It’s got a proper start screen, and end screen, a score meter, a moving player character, viable obstacles, useful game pickups, and at least a very rudimentary form of difficulty progression along with a loss condition. No real win condition, but that was never a part of the plan, it was designed to be a “beat your own best” sort of experience. And it’s even mildly engaging.

And that means that I have four days left to polish it up. I’m not sure how much I’ll be able to complete, but I’d like to get a lot more level variety, as well as just general polish on the graphics overall. Right now I have no background images, and my obstacles are just simple blocks. I’d love to get some fire effects on my phoenix, and ideally get its wings flapping. And I’m hoping that I can get some more advanced music in there. I’ve got something mildly decent right now, but it is very basic and chiptune sounding, I’d love to try to get something overall a bit more epic sounding. I don’t know, maybe that’s too much, if I keep the music in a chiptune style it will work well with other low-poly, low fidelity style assets, which may be better given the time constraints. I can always come back and make an HD version of the game after the jam is over, and once I’ve made it through my music 30/30.

Speaking of the 30/30, I’m pretty happy with the result of today’s sculpting practice. Not specifically because I think it’s good, though I’m not disappointed with the outcome, but more because it’s not absolutely terrible, and it’s something that I’ve been wanting to sculpt from the very beginning.

The last time I tried to sculpt a squirrel it wasn’t even remotely recognizable, and while this one could certainly be better (and I’m sure I could probably improve it with a bit more time than I’m giving myself for it) I think it’s at least recognizable, and pretty decent.

Also, lesson learned, or at least a firm reminder given. Always save your work. Being me I decided that my little squirrel here needed fur. I’ve never actually tried to use blender’s fur particle systems to create actual fur, but I was willing to try. Trying out a test render in the viewport crashed the application, and for a minute there I was pretty sure all of that sculpt work had gone to waste, and my poor squirrel was no more. Fortunately I was able to recover from an autosave, so crisis averted, but that was a bit too close. Apparently remembering to save often as I go is another skill that I need to get back into the habit of doing, it’s funny how the old ways start to slip when you spend a lot of your time working in things that autosave.

Day 56

Today’s task was actually pretty interesting. By suggestion, I decided to go with trying to create a pie. It was a pretty good session, really made me think about the tools at my disposal and how I could use them to achieve the effects that I needed.

All in all, I think it came out alright.

The game for the gamejam is progressing, albeit slowly. I came up with an interesting idea for difficulty progression, that I’m hoping to get a chance to try to implement tomorrow, but for today I was working on actually incorporating the light theme into the game by adding the growing and shrinking light effects. It is partially done at this point, and I’m just that much closer to having a working playable concept.

Day 55

I feel like I made some pretty decent progress on the gamejam entry, despite not having a lot of time to put into it. I managed to properly import my phoenix model after a bit of fighting with the exporters, and set up the basic control structures and even added some simple random obstacles and a game over condition. It’s actually pretty close to being a complete playable game at this stage, just in need of a lot of polish.

But, game development is not the same thing as practicing my skills in 3d art creation, so I made sure to also put my time in on Blender, today choosing to stick to my light theme and model out a candle. It covers a bit of modeling, a bit of sculpting, some curve modeling, texture work, and a bit of playing around with Blender’s fire and smoke simulation, so all in all a pretty decent practice piece.

Day 54

Today’s project is directly related to a new side experiment. I’ve entered into my first ever Game Jam, as hosted by the Brackey’s Discord community. Seven days to make a functional game around the theme of light, without using any premade assets or code. It should be an interesting learning experience.

I haven’t decided yet exactly what my game is going to entail. I know it will have to be exceedingly simple, since I’m a single dev with next to no actual experience and a very short deadline. My first thought with the theme, though, was that I should try to incorporate a phoenix into the game. Because it would cover multiple interpretations of the theme of light. Being on fire, it automatically covers physical illumination. Being a mythical creature, and often considered wise, we have allusions to metaphysical illumination. And by virtue of being a bird, it is naturally light in the sense of not being terribly heavy. I may not stick with it if the eventual game design doesn’t have room for one, but for the time being it seems ok. And it gave me a subject for tonight’s modeling session.

I’m not at all happy with the way the material came out, and I’ve still got a lot to learn about rigging and posing to prevent the bone roll from going all over the place, but I was pretty impressed that I managed to actually pull off a recognizable bird shape with basic low-poly modeling.

Day 53

Today’s practice was really just going to be the mushroom, I swear.

A week or so ago, I was watching someone on youtube during a sculpting timelapse of a strange mushroom character that they were working on. They weren’t really explaining anything, it wasn’t really a tutorial, just showing their process as they made this creature, but during the course of it they got to the frills in the underside of the mushroom cap, and did some kind of magic trickery to separate out a large selection of edges to let them make the frills. I had no idea how they had pulled that off until I watched a video walkthrough on how to model a microphone.

At first thought you may assume that a microphone would be super easy, it’s just a basic sphere on a stick, right? But then you remember that a lot of mics, especially the classic stage mics, have a curved wire mesh around that ball, and that’s something that’s complicated to reproduce accurately, unless you have a good technique. And wouldn’t you know it, the technique that they used involved taking a selection of points, and unselecting every other one, using the checkerboard deselect option, an option that I had not realized was there, and which is almost certainly what the other guy used to create his mushroom cap frills.

So fast forward to today, and I’m doing a bit of light sketching for my sketchbook (see, I told you that would still be happening) and I draw a rock that looks vaguely mushroom shaped. So then I draw a mushroom. And another. It just seemed like a mushroom kind of day. And then I remembered that I know how to do the frills now, and at that point modeling a mushroom was really the only viable option for tonight’s practice.

But the mushroom itself is pretty simple, maybe overly simple, so I decided that I also wanted to put some nice textures on it, and do some simple rigging so I could have a few of them in different positions and poses. And then I needed some ground to put it on, so I had to model some dirt, and put together a particle system that could properly duplicate and distribute some grass that I made.

I think the end result looks pretty nice, maybe the most professional render I’ve produced yet. Certainly one of the slowest, at least for a single frame. Still, I kind of wish I had had more time to put into it, even if it is a really simple scene. It would have been nice to have some rocks around, maybe a rotten log. Better definition on the ground, too, since that didn’t really come across well in the final render. It’s heartening, though, knowing that I’m getting to a point where I at least pretty much know what to do, or how to pull off what I need. And the more I do this the faster I’ll be able to produce nice results, so maybe it won’t be too long before I can start to add in those extra details without it taking forever.

Day 52

Today involved some experimenting and some practice.

First up:

These chess pieces were made using a lathing technique, by taking a curve and spinning it around an axis to create a solid form. In the case of the rook I also made use of some nifty boolean operations to get the cut ins for the parapets. Kind of basic stuff, but also stuff that I haven’t had much practice with, so it seemed like a good exercise to do, especially since I was winging it on my own, rather than following any specific tutorial. There are plenty of them out there for chess pieces, but it just wasn’t what I was going for.

The second item is this at least vaguely familiar little guy who may or may not have been modeled off of a semi-popular video game character:

He was a bit of a rush job, to be honest. I was mostly just using him as a way to play around and practice some techniques. I tried, at least to an extent, to follow some of the pipeline workflows that I’ve been learning, so this character involved going through and actually modelling out a more or less viable version of the character as a low-poly base mesh, unwrapping the uvs for that mesh for the texturing, sculpting out the fine detail in sculpt mode, hand painting the texture in texture mode, baking the sculpted details out to a normal map and applying it to the low-poly version so it would look like the more detailed high-poly version, and rigging and posing the low poly model. I also put together a super basic desert scene to put him in and tried to go for a nicely framed shot. Considering the subject matter and the amount of time I was willing to put into this particular piece, each of those steps was pretty much the simplest and most bare bones version of itself possible, but the whole workflow was there, with the exception of retopology. At first I was wanting to play around with that as well, there are some alternate techniques I’d like to try out, but there actually wasn’t much that really needed changing at all for this guy, he’s just not complex enough to be worth bothering.

Regardless, even for a rush job that was focused more on the different parts of the workflow than the actual quality of the work, I feel like he came out pretty decent. I may try to do a few more of these super fast character sculpts in the future, to help get all of the different techniques really down pat. It can be a complicated process with a lot going on, so being able to do all of it in a single session could be really good for retention.

Day 51

Something a bit different today, and something both near and dear to my heart:

I’ll be honest, I don’t remember how long it’s been since I designed the logo for Taloria. Several years at least, back when I made the decision to push forward with this writing thing and learn how to tell stories. I created the original logo in Inkscape, probably a few weeks after publishing that first story.

Since then the actual writing for Taloria has been kind of start and stop, touch and go. Most of the work for it has been behind the scenes, preparing, planing, and plotting. A lot of world building and history wrangling. All stuff that I really hope I have a chance to properly get out into the world one day. So far I’ve only produced a small handful of short stories that have been made available to the public, but behind the scenes there’s been so much more.

In all of that time, though, I’ve never touched the logo again. I’ve used it, and reused it in a few different places, but for the most part it’s always just been those original images that I made in the very beginning. So it was pretty fun going in and recreating it anew in three dimensions. It was also a good excuse to practice playing around with Blender’s curve functionality and even a bit with volumetric scattering for some decent haze.